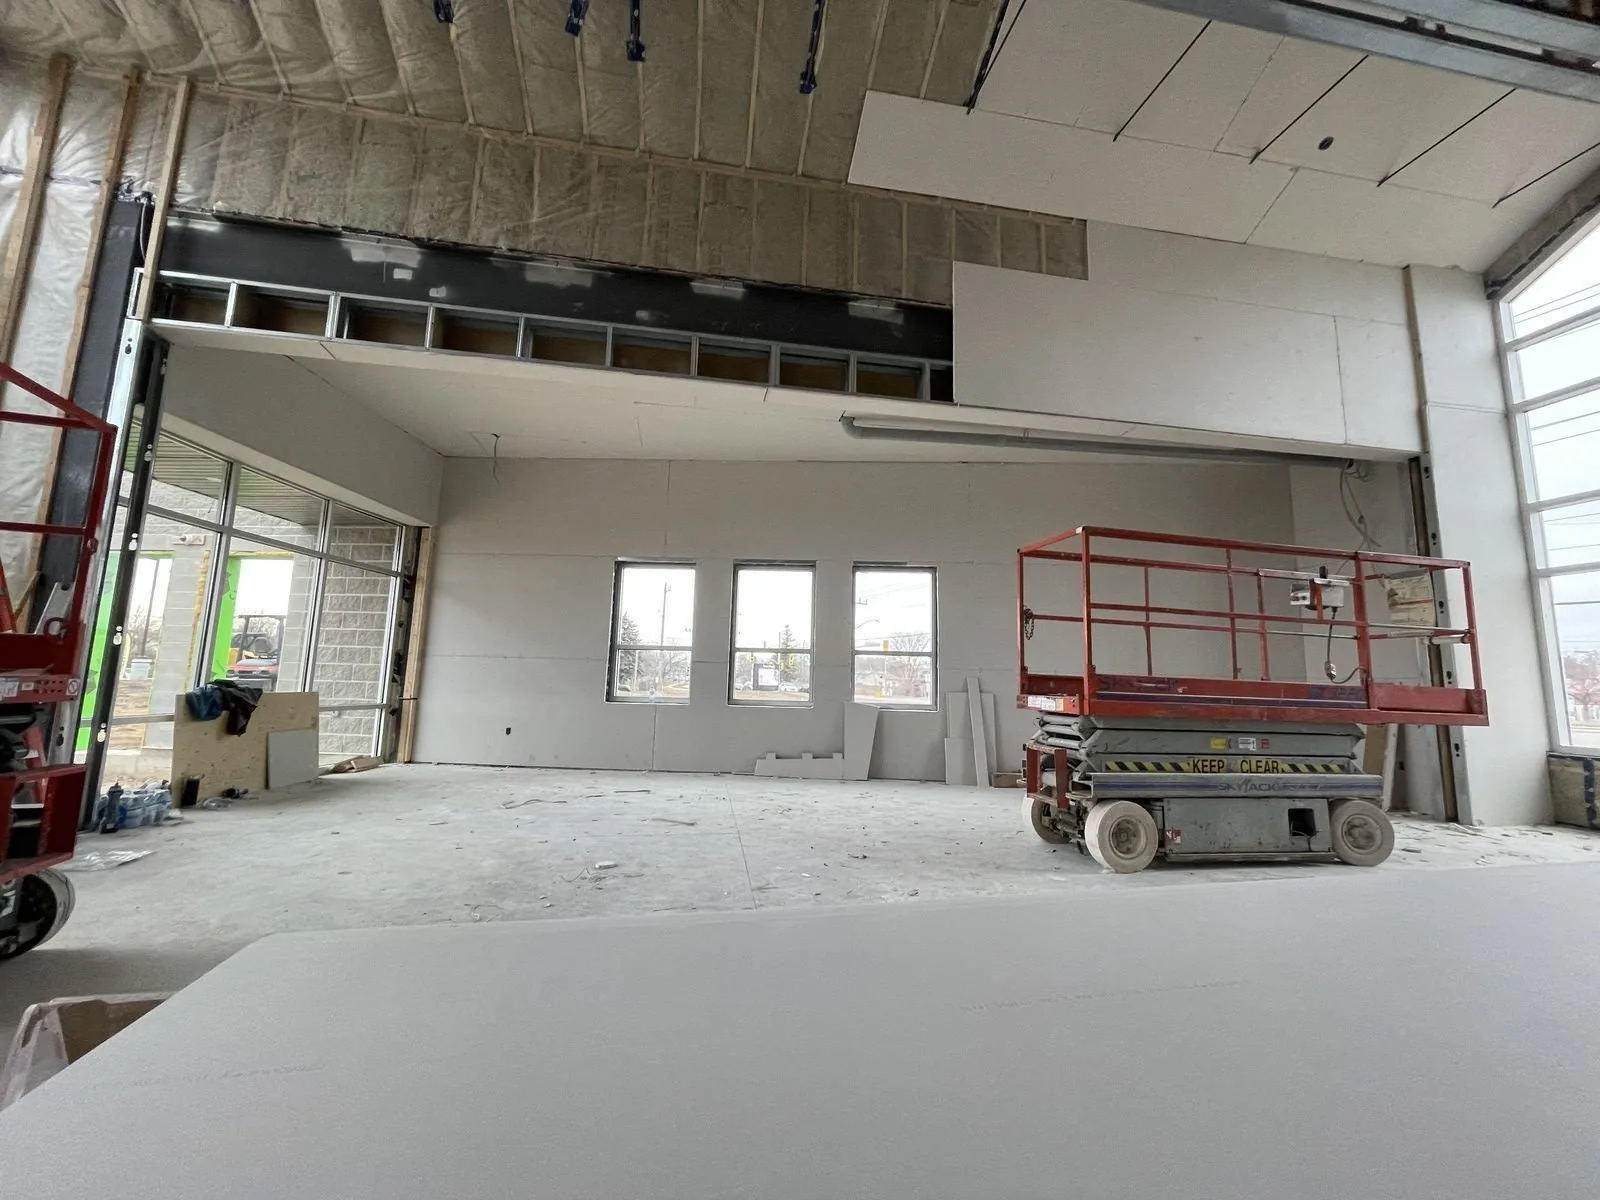
If you have never been through a drywall renovation before, the process can feel chaotic — dust, noise, and walls that look worse before they look better. This guide tells you exactly what happens at each stage so you can plan around it.
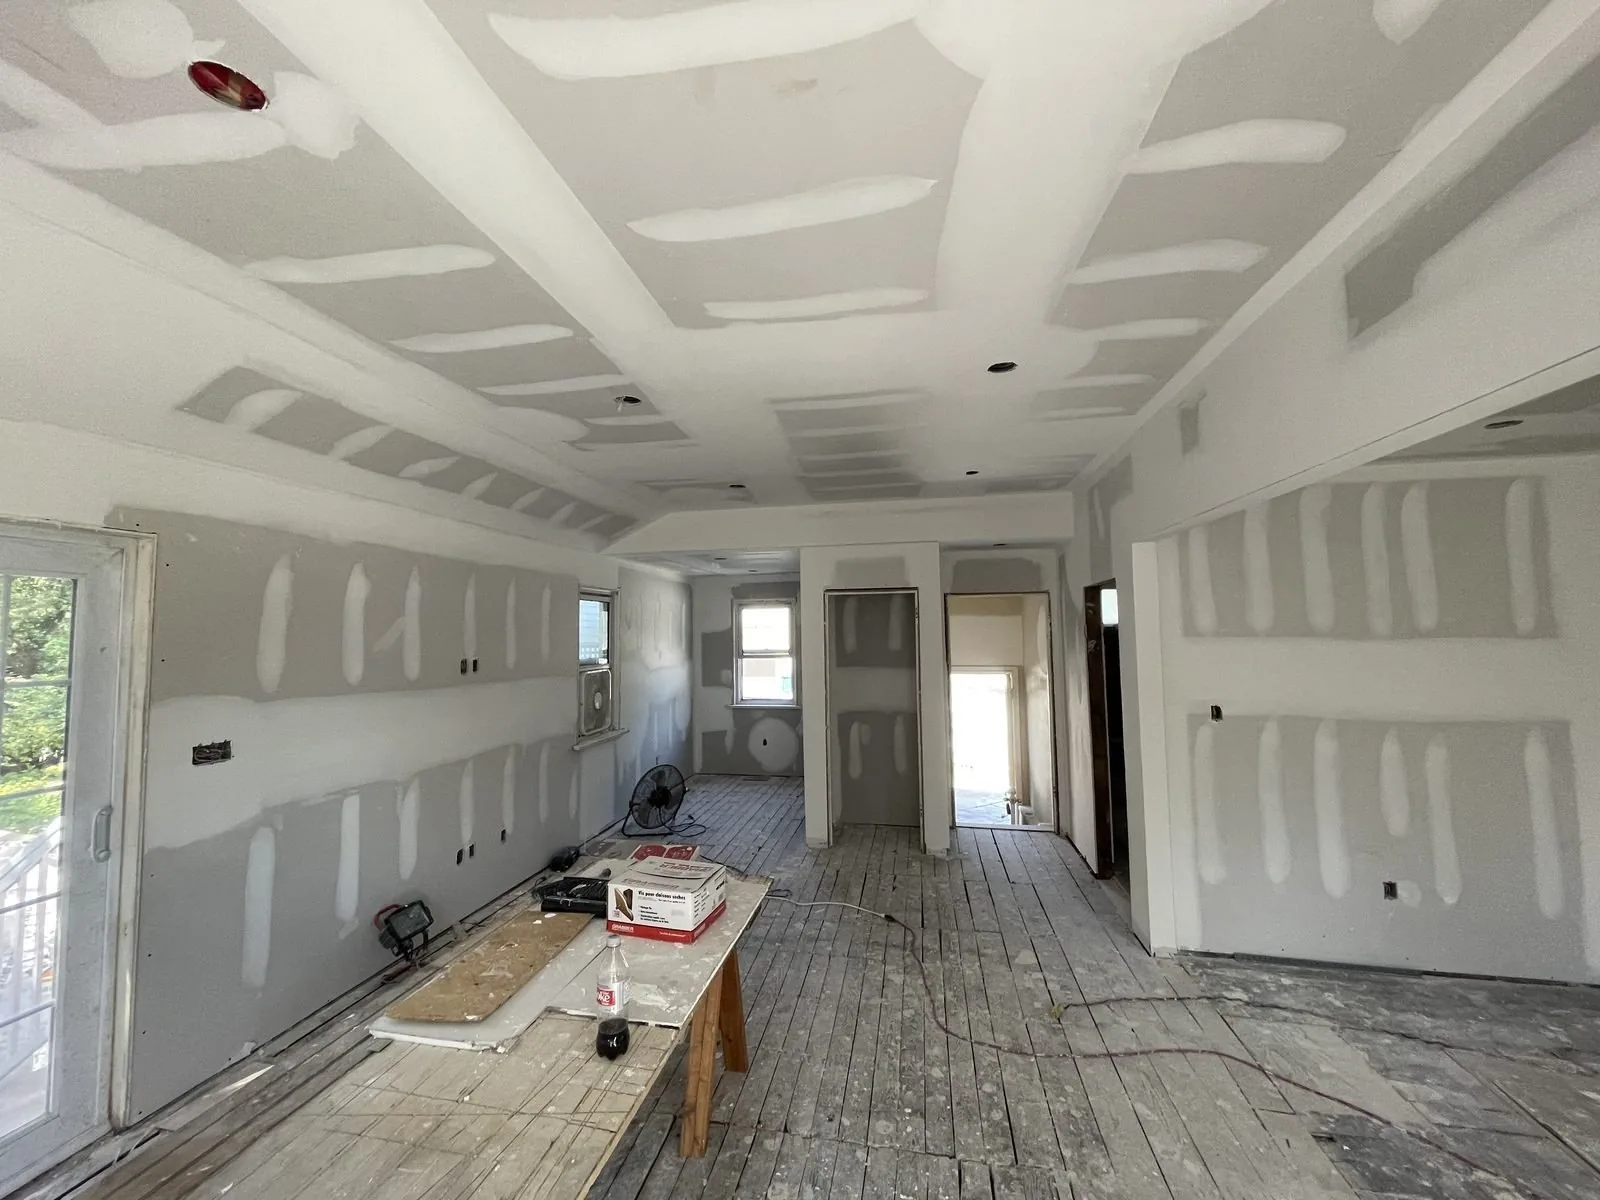
Mid-renovation on a vaulted ceiling addition in Oakville — boards hung, taping begins next.
The 7 Stages of a Drywall Renovation
Old drywall is removed, framing is inspected and any additional blocking or backing is added. Electrical rough-in and plumbing must be complete and inspected before drywall starts. Expect significant dust — seal off other areas of the home.
Before drywall goes up, insulation is installed. On exterior walls this is critical — spray foam or batt goes in at this stage. Sound batts go in interior partition walls. This is your last chance to add wiring or plumbing before the walls close.
Boards are measured, cut and screwed to studs and joists. Ceilings go first, walls second. A skilled crew can hang a full floor of a custom home in 1–2 days. The space looks almost done at this stage — but the work is just beginning.
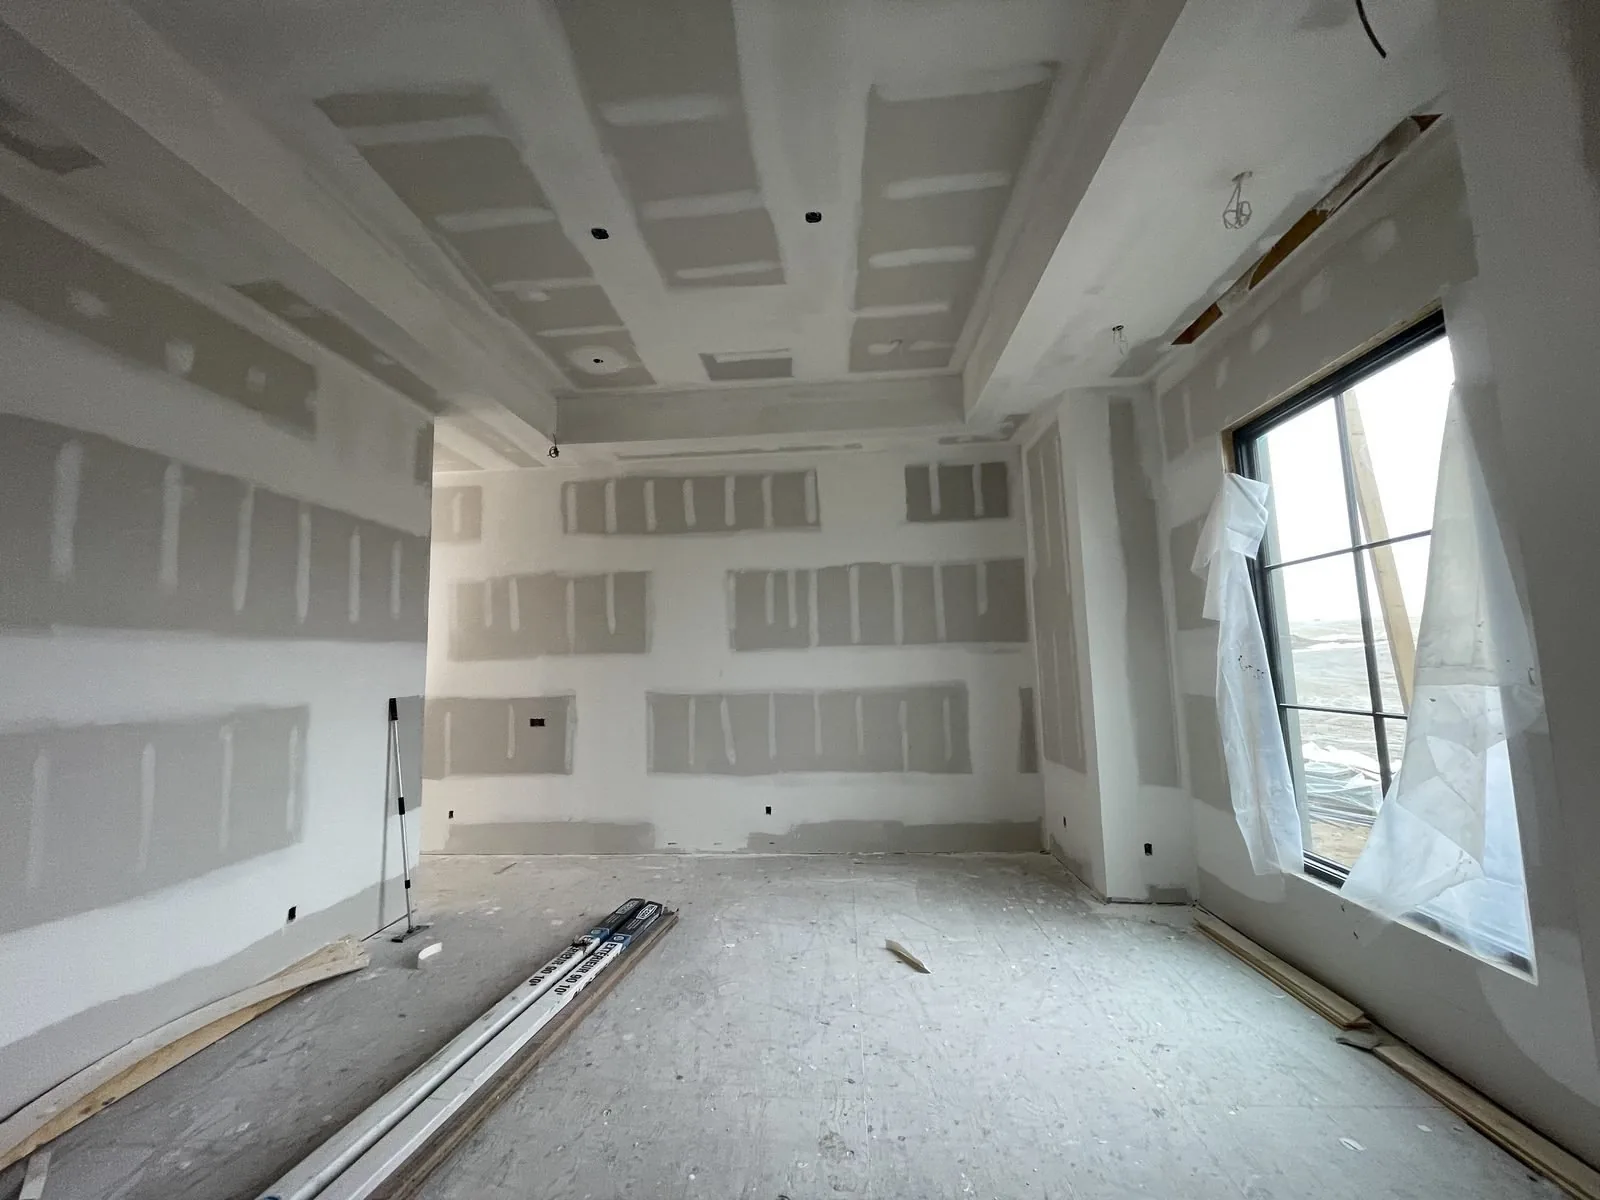
Paper tape is embedded over all joints using joint compound. Corner bead is installed on all outside corners. The compound must dry fully before the next coat — 24 hours minimum, more in cold or humid conditions.
Two additional coats of compound are applied, feathered wider each time. Sanding happens between coats. This is the most time-sensitive phase — rushing drying time causes cracking and poor adhesion.
The entire surface is sanded smooth. For Level 5 finish, a skim coat is applied over the full surface and sanded again. This stage creates the most dust — protect other areas of the home carefully.
Final walkthrough with raking light — a light held at a sharp angle to reveal any imperfections. Touch-ups are made. Site is cleaned and handed back ready for primer and paint.
How Long Does Drywall Take?
For a single room renovation (400–600 sq ft): 5–8 working days. For a full floor of a custom home: 10–15 working days. For a complete new build from scratch: 3–6 weeks depending on complexity.
Rushing the drying time between coats. Joint compound must be fully dry — not just dry to the touch — before the next coat. In Halton Region's cold winters or humid summers, this can take longer than expected. A quality drywall company factors this into their schedule from day one.
Preparing Your Home — Dust Management
Drywall dust is extremely fine and travels far. Before sanding phases begin:
- Cover HVAC return vents in the work zone
- Seal doorways with plastic sheeting
- Remove or cover furniture and electronics in adjacent rooms
- Plan for a full clean after final sanding is complete
Questions to Ask Your Drywall Contractor
- What finish level are you quoting — Level 4 or Level 5?
- How many coats of compound do you apply?
- Do you use paper tape or mesh tape? (Paper is superior)
- Who does the actual work — your own crew or subcontractors?
- What is included in cleanup?
Working with LR Contracting
Our own trained crews on every project — no subcontractors, no day-labourers.